Enhancing Strapi Cloud with Deep Links and Visual Editors Features
By Ugo Quaisse on 07-02-2024Introduction
Strapi stands out as a robust and adaptable open-source headless CMS, making it an excellent choice for those aiming to enhance their content production speed without sacrificing the need for customization. By adding Perfection on top of a Strapi site, you can provide business users with a simple interface called "Deep Links" where they can easily access the right content record to edit in their Strapi CMS App. You can also provide them with highly customizable Visual Editor tools to modify the look and feel of sections and components based on your existing CSS, as well as enabling collaboration with peers using the comment feature directly from your preview site.
Building a website with Strapi Cloud and Perfection
In this guide, we will demonstrate how you can easily add our powerful composition tools into your Strapi Project hosted and managed through Strapi Cloud
Setting Up Your Project: A Step-by-Step Guide
Here are the necessary steps you will have to follow:
- Create a Strapi Cloud Project (if you don't have already one)
- Create a Perfection Site and connect the Strapi provider
- Add Perfection script (Oversite) to your preview site
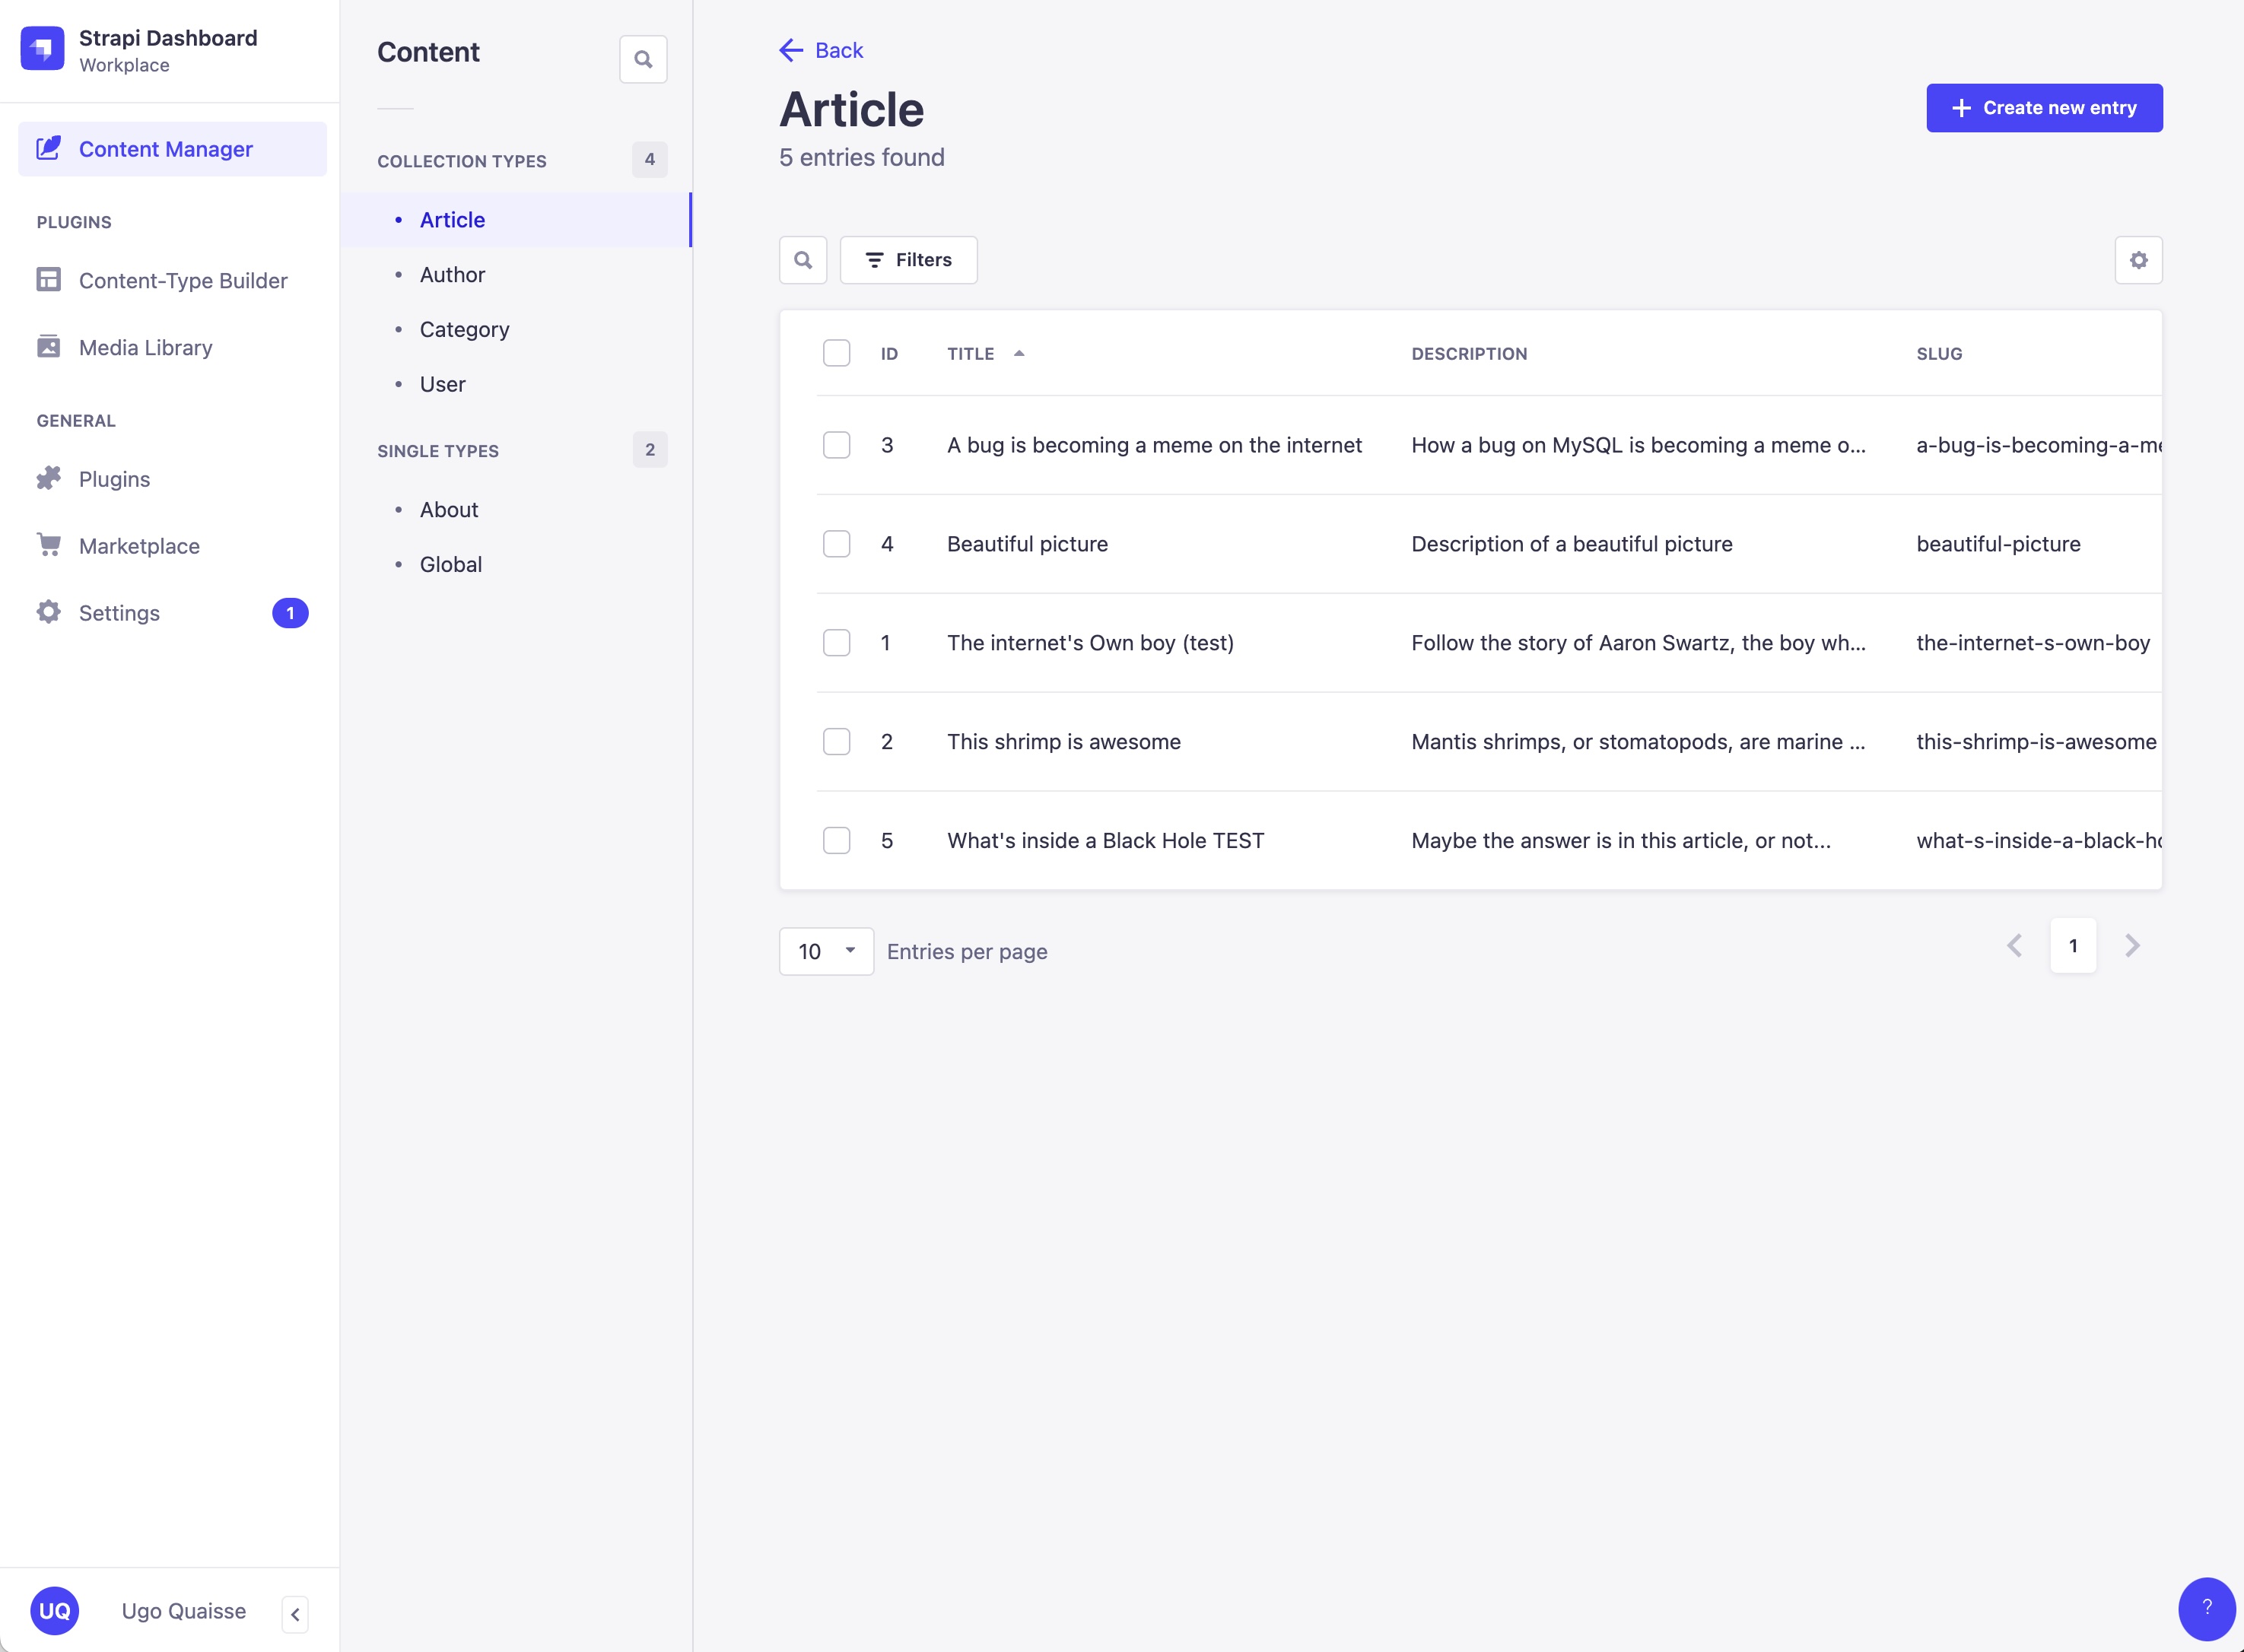
- Enable Deep Links for Articles content type
- Create a first Visual Editor
1. Create a Strapi Cloud Project
First you need to create your Strapi application locally, version the application's codebase through your git provider (GitHub or GitLab), and deploy the application with Strapi Cloud. As the intend here is not to explain all the steps to configure your Strapi Cloud App, we invite you to follow this guide https://docs.strapi.io/cloud/getting-started/deployment.
Once you have your Strapi Project created locally with the GraphQL plugin and deployed through Strapi Cloud, you will be able to retreive your content from the GraphQL or REST API, enabling you to fetch your data to create your frontend.

2. Create a Perfection Site and connect the Strapi provider
Before you begin adding Perfection script to your project, you must log in to your Perfection's Admin Panel. Once logged in, navigate to the "Sites" tab and create a new site.
Next, you need to set up a Strapi Cloud Provider. You have the choice between two providers: Single Type and Multiple Type. Choose one and follow the steps. Once you have created your provider, please ensure it is associated with the site you previously established. See the following guide for further details:
3. Add Perfection script (Oversite) to your preview site
To see and start using Perfection tools from your preview website, you need to install the Oversite NPM package. Use the following NPM command in your favourite terminal:
npm install @perfection/oversiteThe next step is to create API Keys that you will use later to initialize Oversite:
Once you have created your API Keys, you can initialise Oversite into your Front-end project. You can find various examples using Next.js, Nuxt, Vanilla JavaScript, Astro, SvelteKit, and more in our documentation at https://docs.perfection.dev/general/oversite/intro. We have also created a GitHub repository with various framework implementation examples accessible at https://github.com/perfectiondotdev/perfection-playground.
4. Enable Deep Links and Collaboration features
After having successfully installed and initialised Oversite script, you need to decorate your component's markup with the required data attributes for Oversite to interpret and generate Deep Links. Here is an example for the 'Article Card' component we are using on our demo site:<div data-pf={`{"providerId": "strapi-demo-multiple", "title": "${attributes.title}", "componentKey": "article-card", "groupId": "strapi-article-cards", "instanceId": "${id}", "entryId": "${id}", "contentType": "article.article"}`}></div>Important: The "Content-Type" property should match the content type of the component data. For example, our Article's data is based on the "Article Content-Type (Collection)." You should provide the content type available in the URL when you navigate to this model within the Content-Type Builder of your Strapi App (e.g https://efficient-love-80166b4c6c.strapiapp.com/admin/plugins/content-type-builder/content-types/api::article.article)"
The other values inside the JSON string of the data attribute contain various properties described in this page.
Final test, with Collaboration features as a bonus!
Now it is time to check if everything works as expected. Head to your preview site. If you have successfully implemented the previous steps, you should now see the Perfection Dock at the bottom of your site. Open it, and you should be able to interact with your components and observe the Deep link outline and button when interacting with it.
You will also notice that collaboration features are activated by default. Feel free to invite your team members via Perfection's Admin Panel to begin collaborating with them directly from your preview site!
Next Step: setup a Visual Editor
With all the foundational elements now in place for you to begin using Perfection's features, it's straightforward to incorporate additional functionalities like Visual Editing capabilities for your Sections and Components. Enabling this feature involves a few steps, which are comprehensively explained in the tutorial. If you're eager to implement these features, please read the following guides.
- Install CLI
- Create and Sync a Theme
- Create Component
- Configure your component
- Use our Helpers to retrieve styles at Runtime/Build time
Here's a sneak peak of what you should get once your Theme and Component styles or presets are configured in our system.
Want to learn more or need a chat?
Get in touch today and book a demo to learn how Perfection can add value to your digital transformation project.